
Getting started
The purpose of these few lines is to guide you through your first steps with the Preflop Pack and give you the keys to progress quickly.
Enjoy your reading!
🙌Welcome
With the Preflop Pack Ranges, the Trainer, and its Strategy Guides, you'll learn to play better, win more chips with each action, and improve faster than ever before – while (hopefully...) enjoying every step of the journey.
But to get real results at the tables, gain confidence, and most importantly… grow your bankroll, that part is up to you.
This tool isn't a magic wand, but with a bit of consistency and by following the tips below, you'll have all the keys you need to make the most of it.
➡️ Enjoy the learning process!
And if you ever run into any issue, have a question or suggestion, feel free to contact me on Discord or by email at contact@pokersciences.com – I will personally get back to you.
🎁A Gift You Should Take Advantage Of
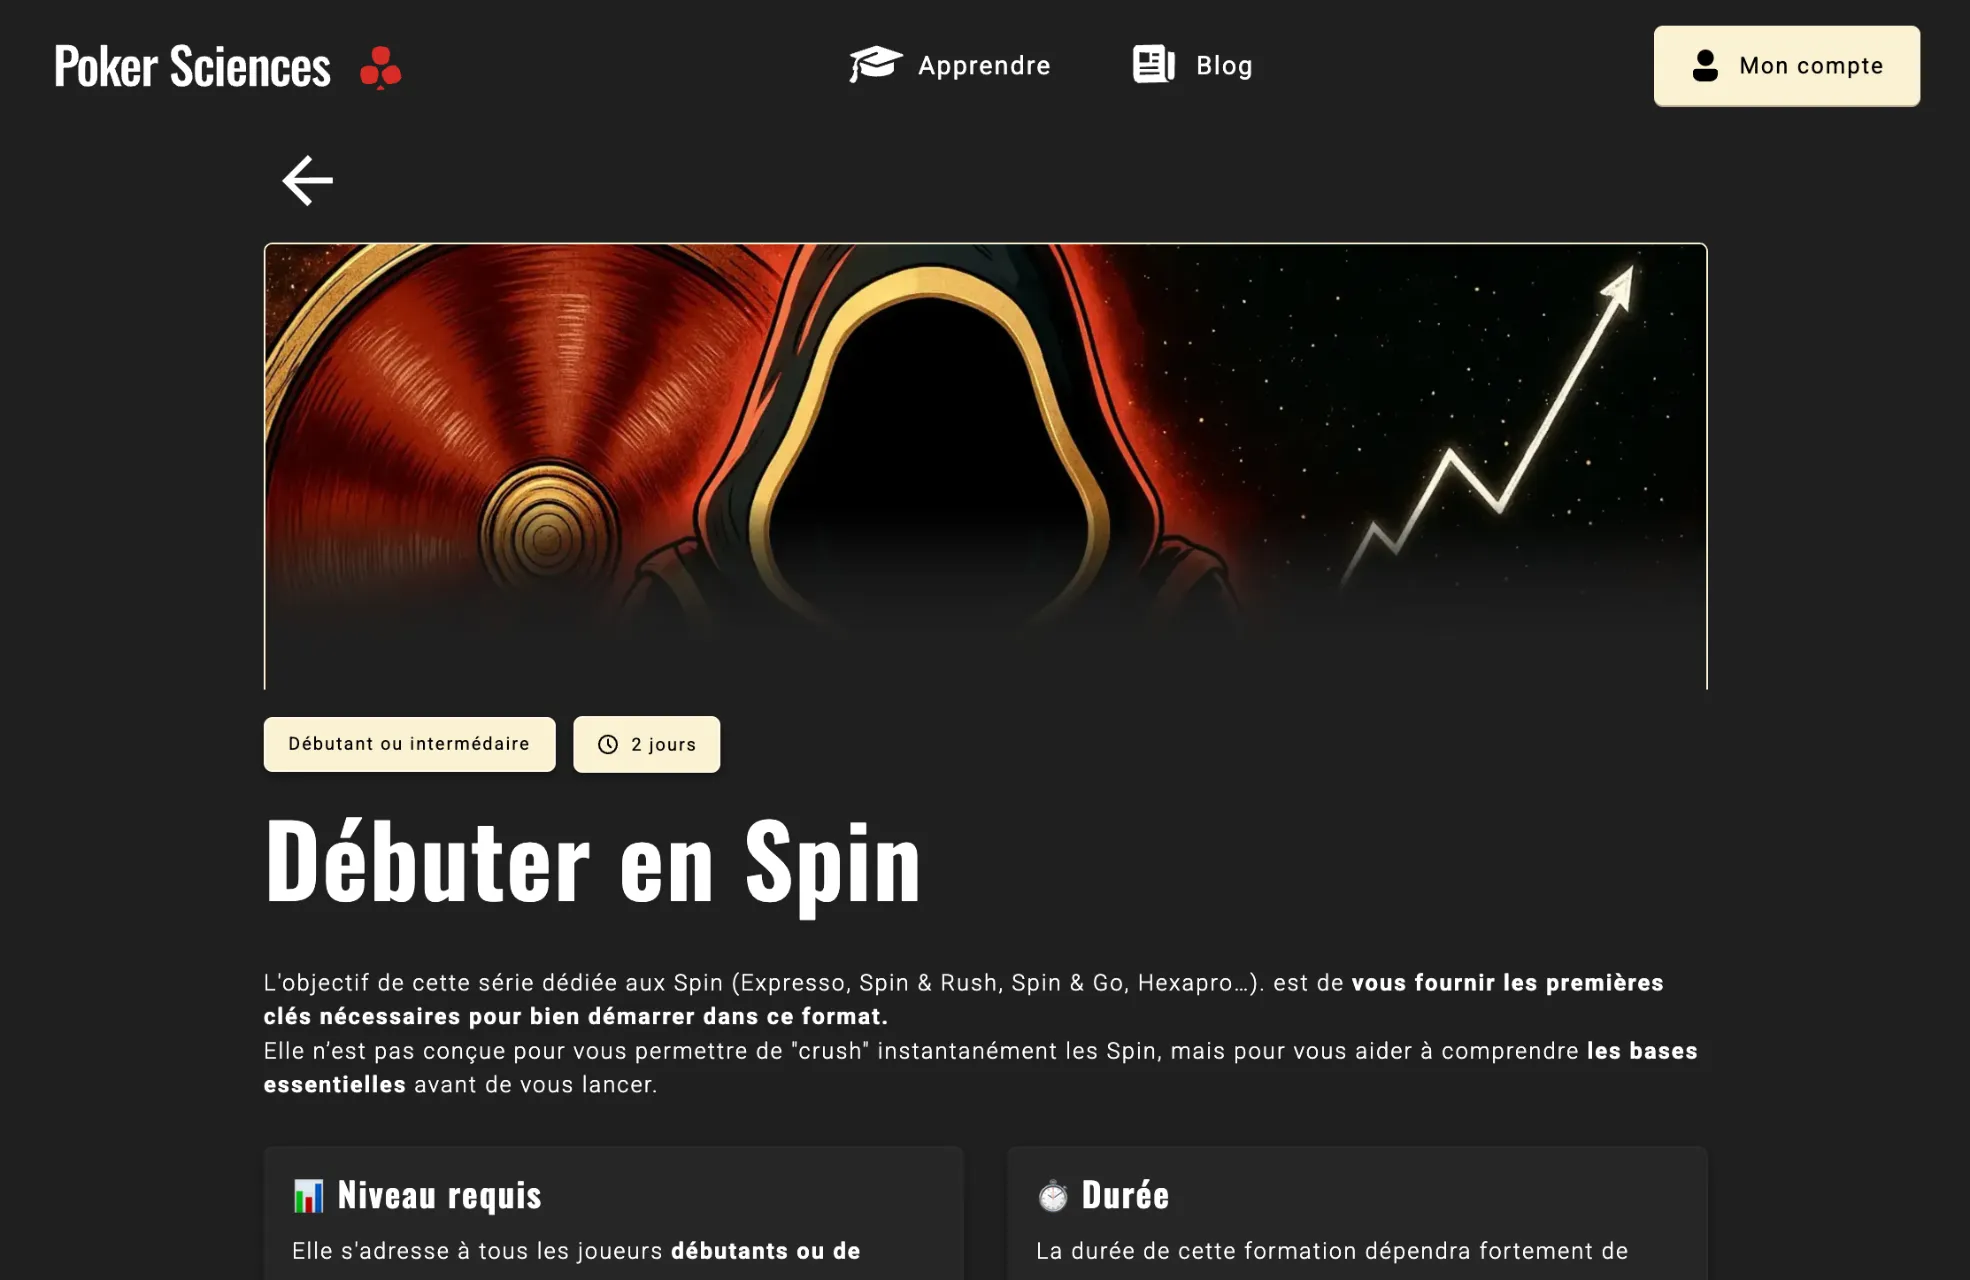
Before anything else, I strongly recommend (especially if you're a beginner or intermediate player), that you read our free course for getting started with Spins.
It's an almost essential starting point, especially to understand the concept of variance.
Spin & Go tournaments are an exciting format, but far from as simple as they seem.
That's what makes them so interesting (because if they were simple, there wouldn't be any edge to have over your opponents – and thus no money to win) but also what makes them risky.
If you get overconfident, your bankroll might quickly shrink and put you in tough spots.
That won't happen if you follow the advice we share in this course.
And best of all – it's completely free.
➡️ Check out the beginner Spin course: open the course.
Even if you're an advanced player, we still recommend taking a look. A quick refresher never hurts.
⚔️Quick Game Plan
If you're landing on the Spin Ranges and don't know where to start, here's what I suggest:
Trying to learn every single situation at once is pointless (and overwhelming).
Here's a realistic progression plan:
- It will depend on your current level, but I recommend working on 1 situation per week.
- I recommend following the order of the Trainer chapters. They follow a logical and pedagogical order that we carefully designed: you start with the most important situations and gradually move toward less common ones. Note that the first Trainer chapters are not the easiest!
- And make use of the Strategy Guides.
They are the core of this tool. They will help you improve without having to memorize dozens of charts – instead, you'll learn to understand them deeply.
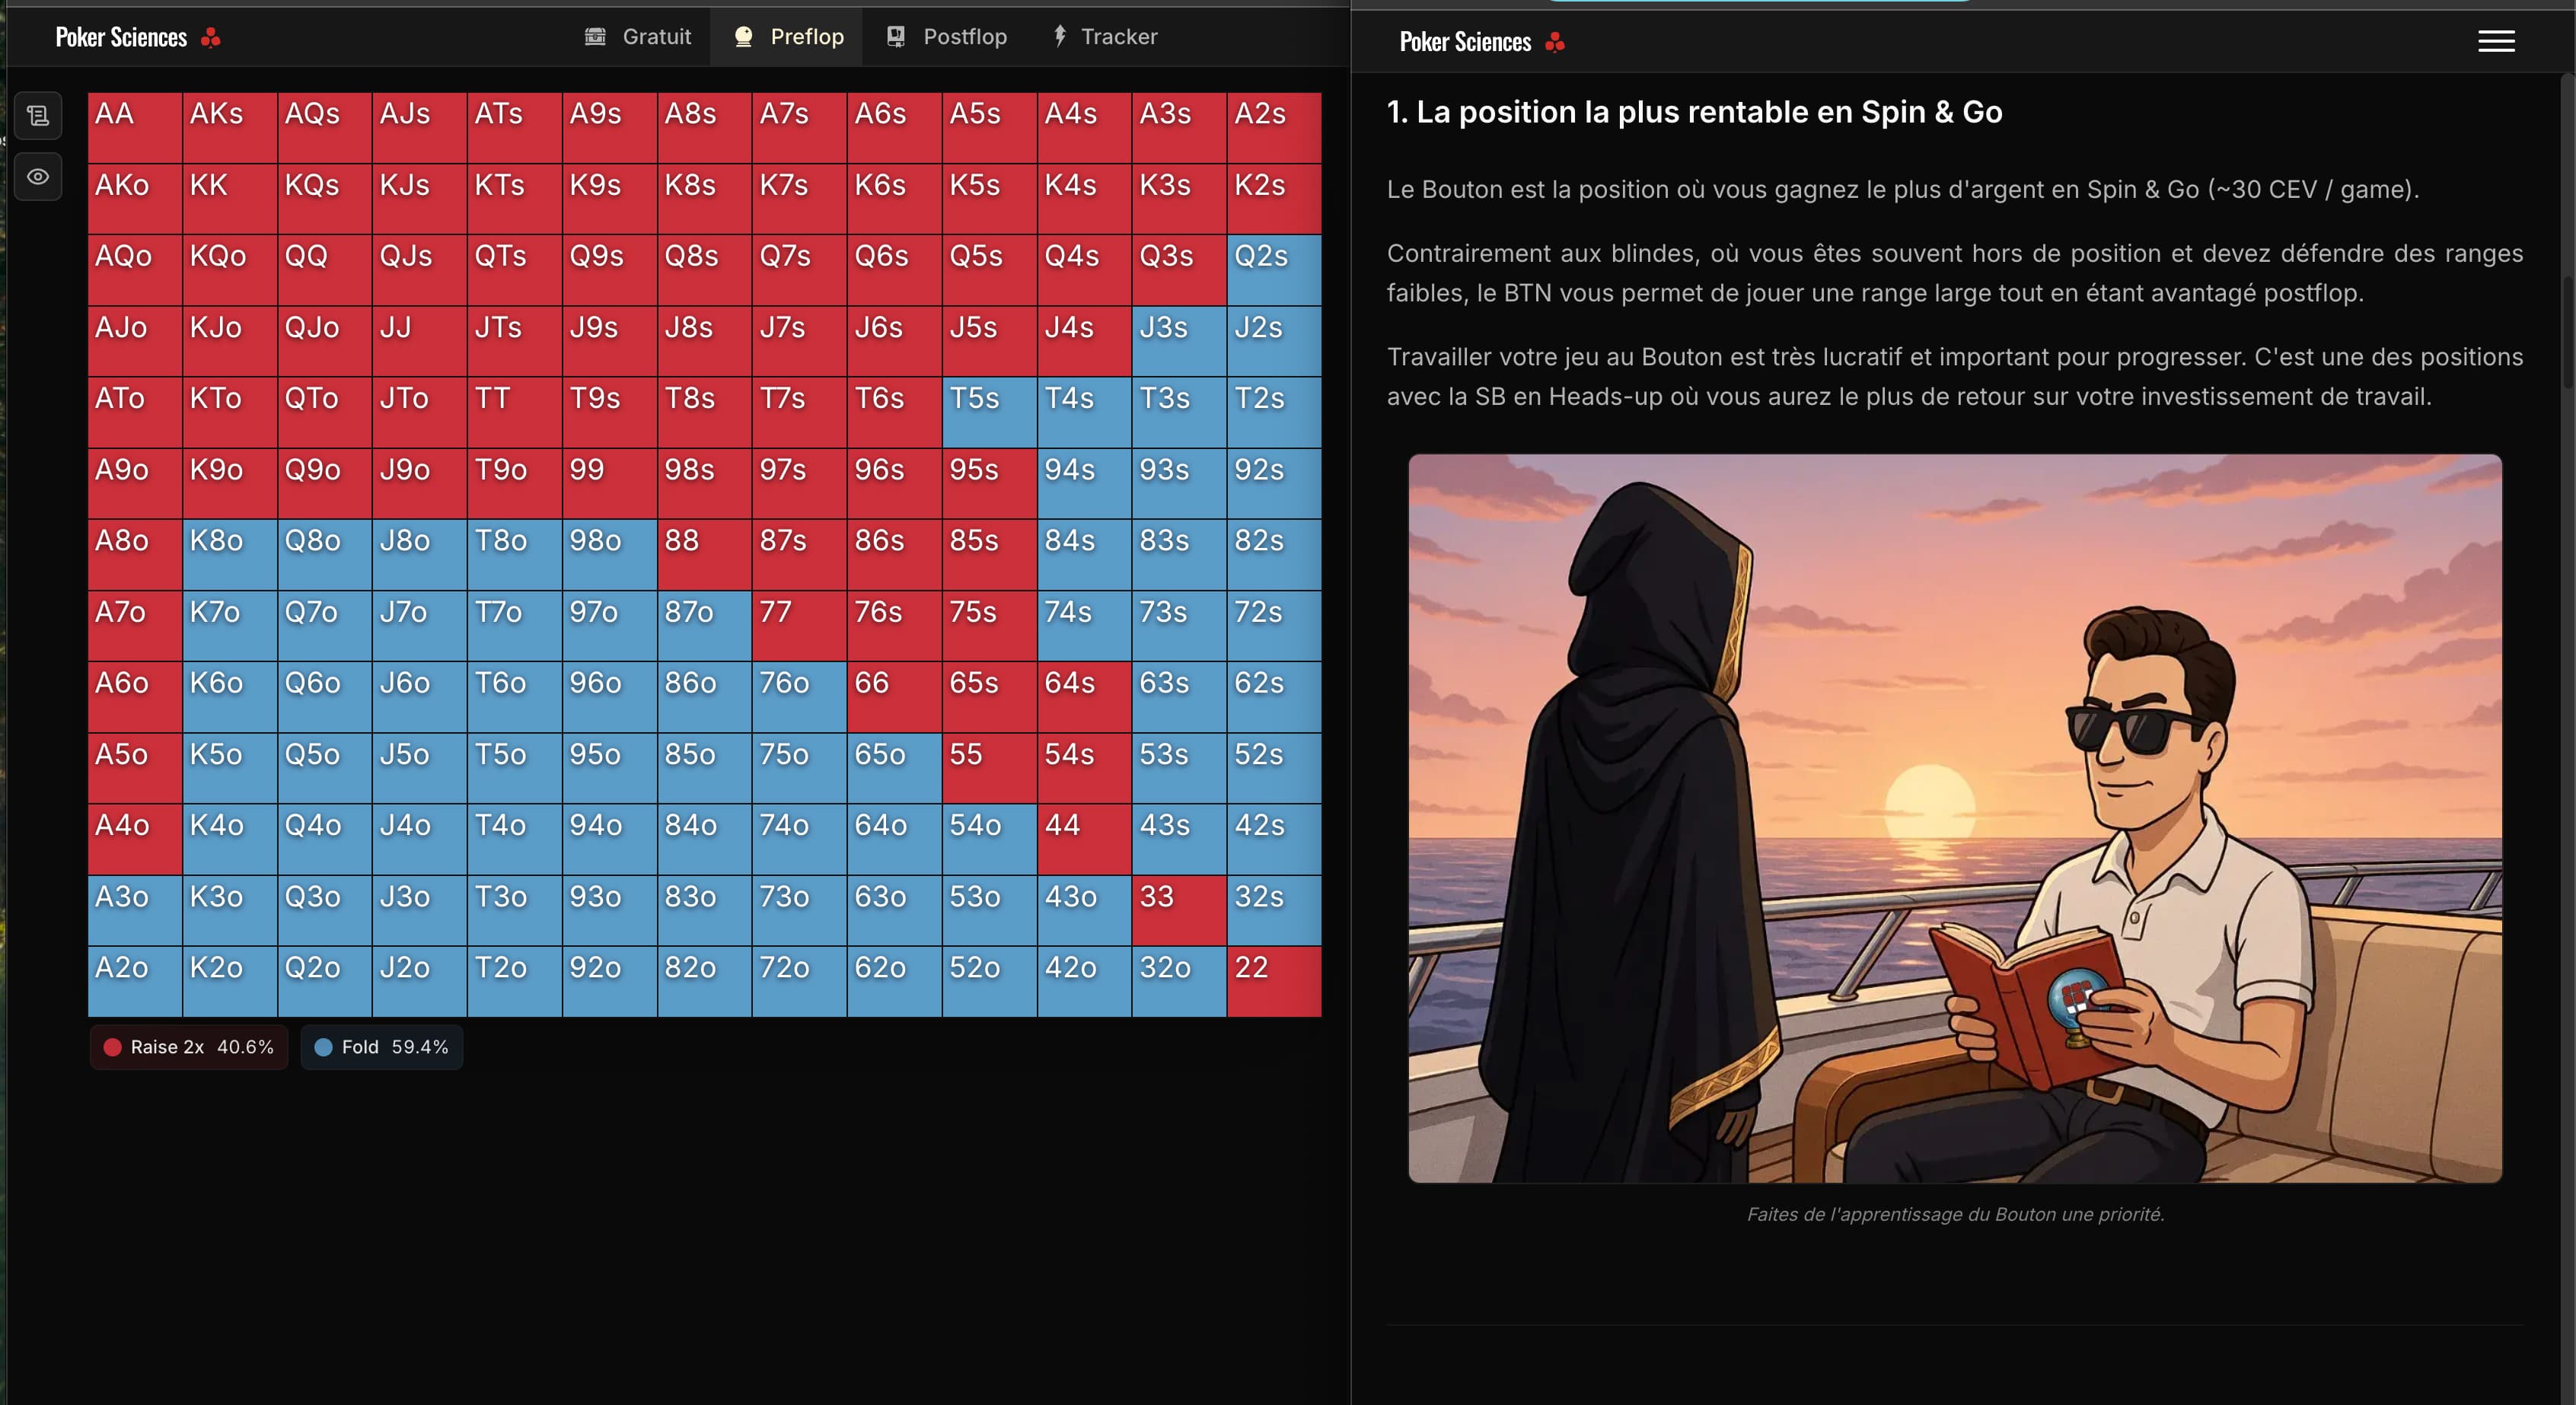
And don't hesitate to work in split screen: open the Strategy Guide on the right and the corresponding range chart on the left.
And above all – play! But play fewer tables at a time to really take the time to absorb each situation.
On most poker rooms, it's forbidden to consult ranges while playing.
So we strongly advise against it.
Also, it's often more effective in the long run (and more interesting) to learn the ranges by understanding them, rather than playing robotically by applying a rigid formula.
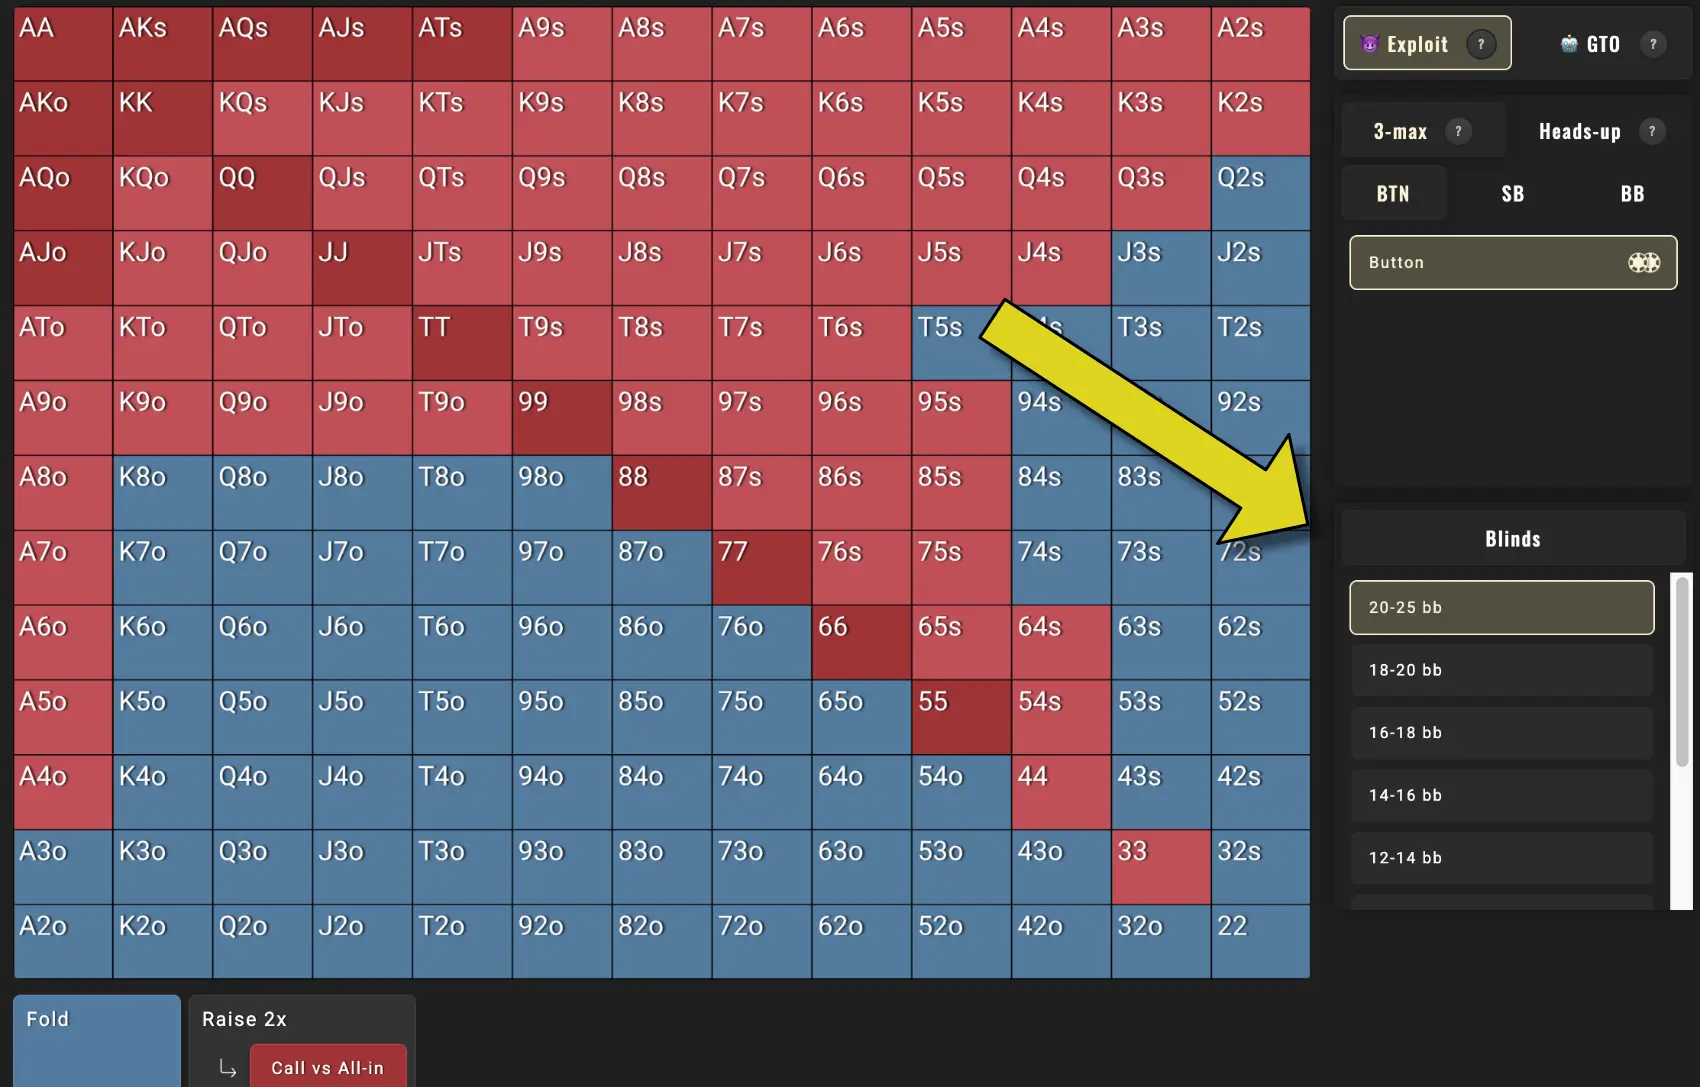
😈Exploitative or GTO Version
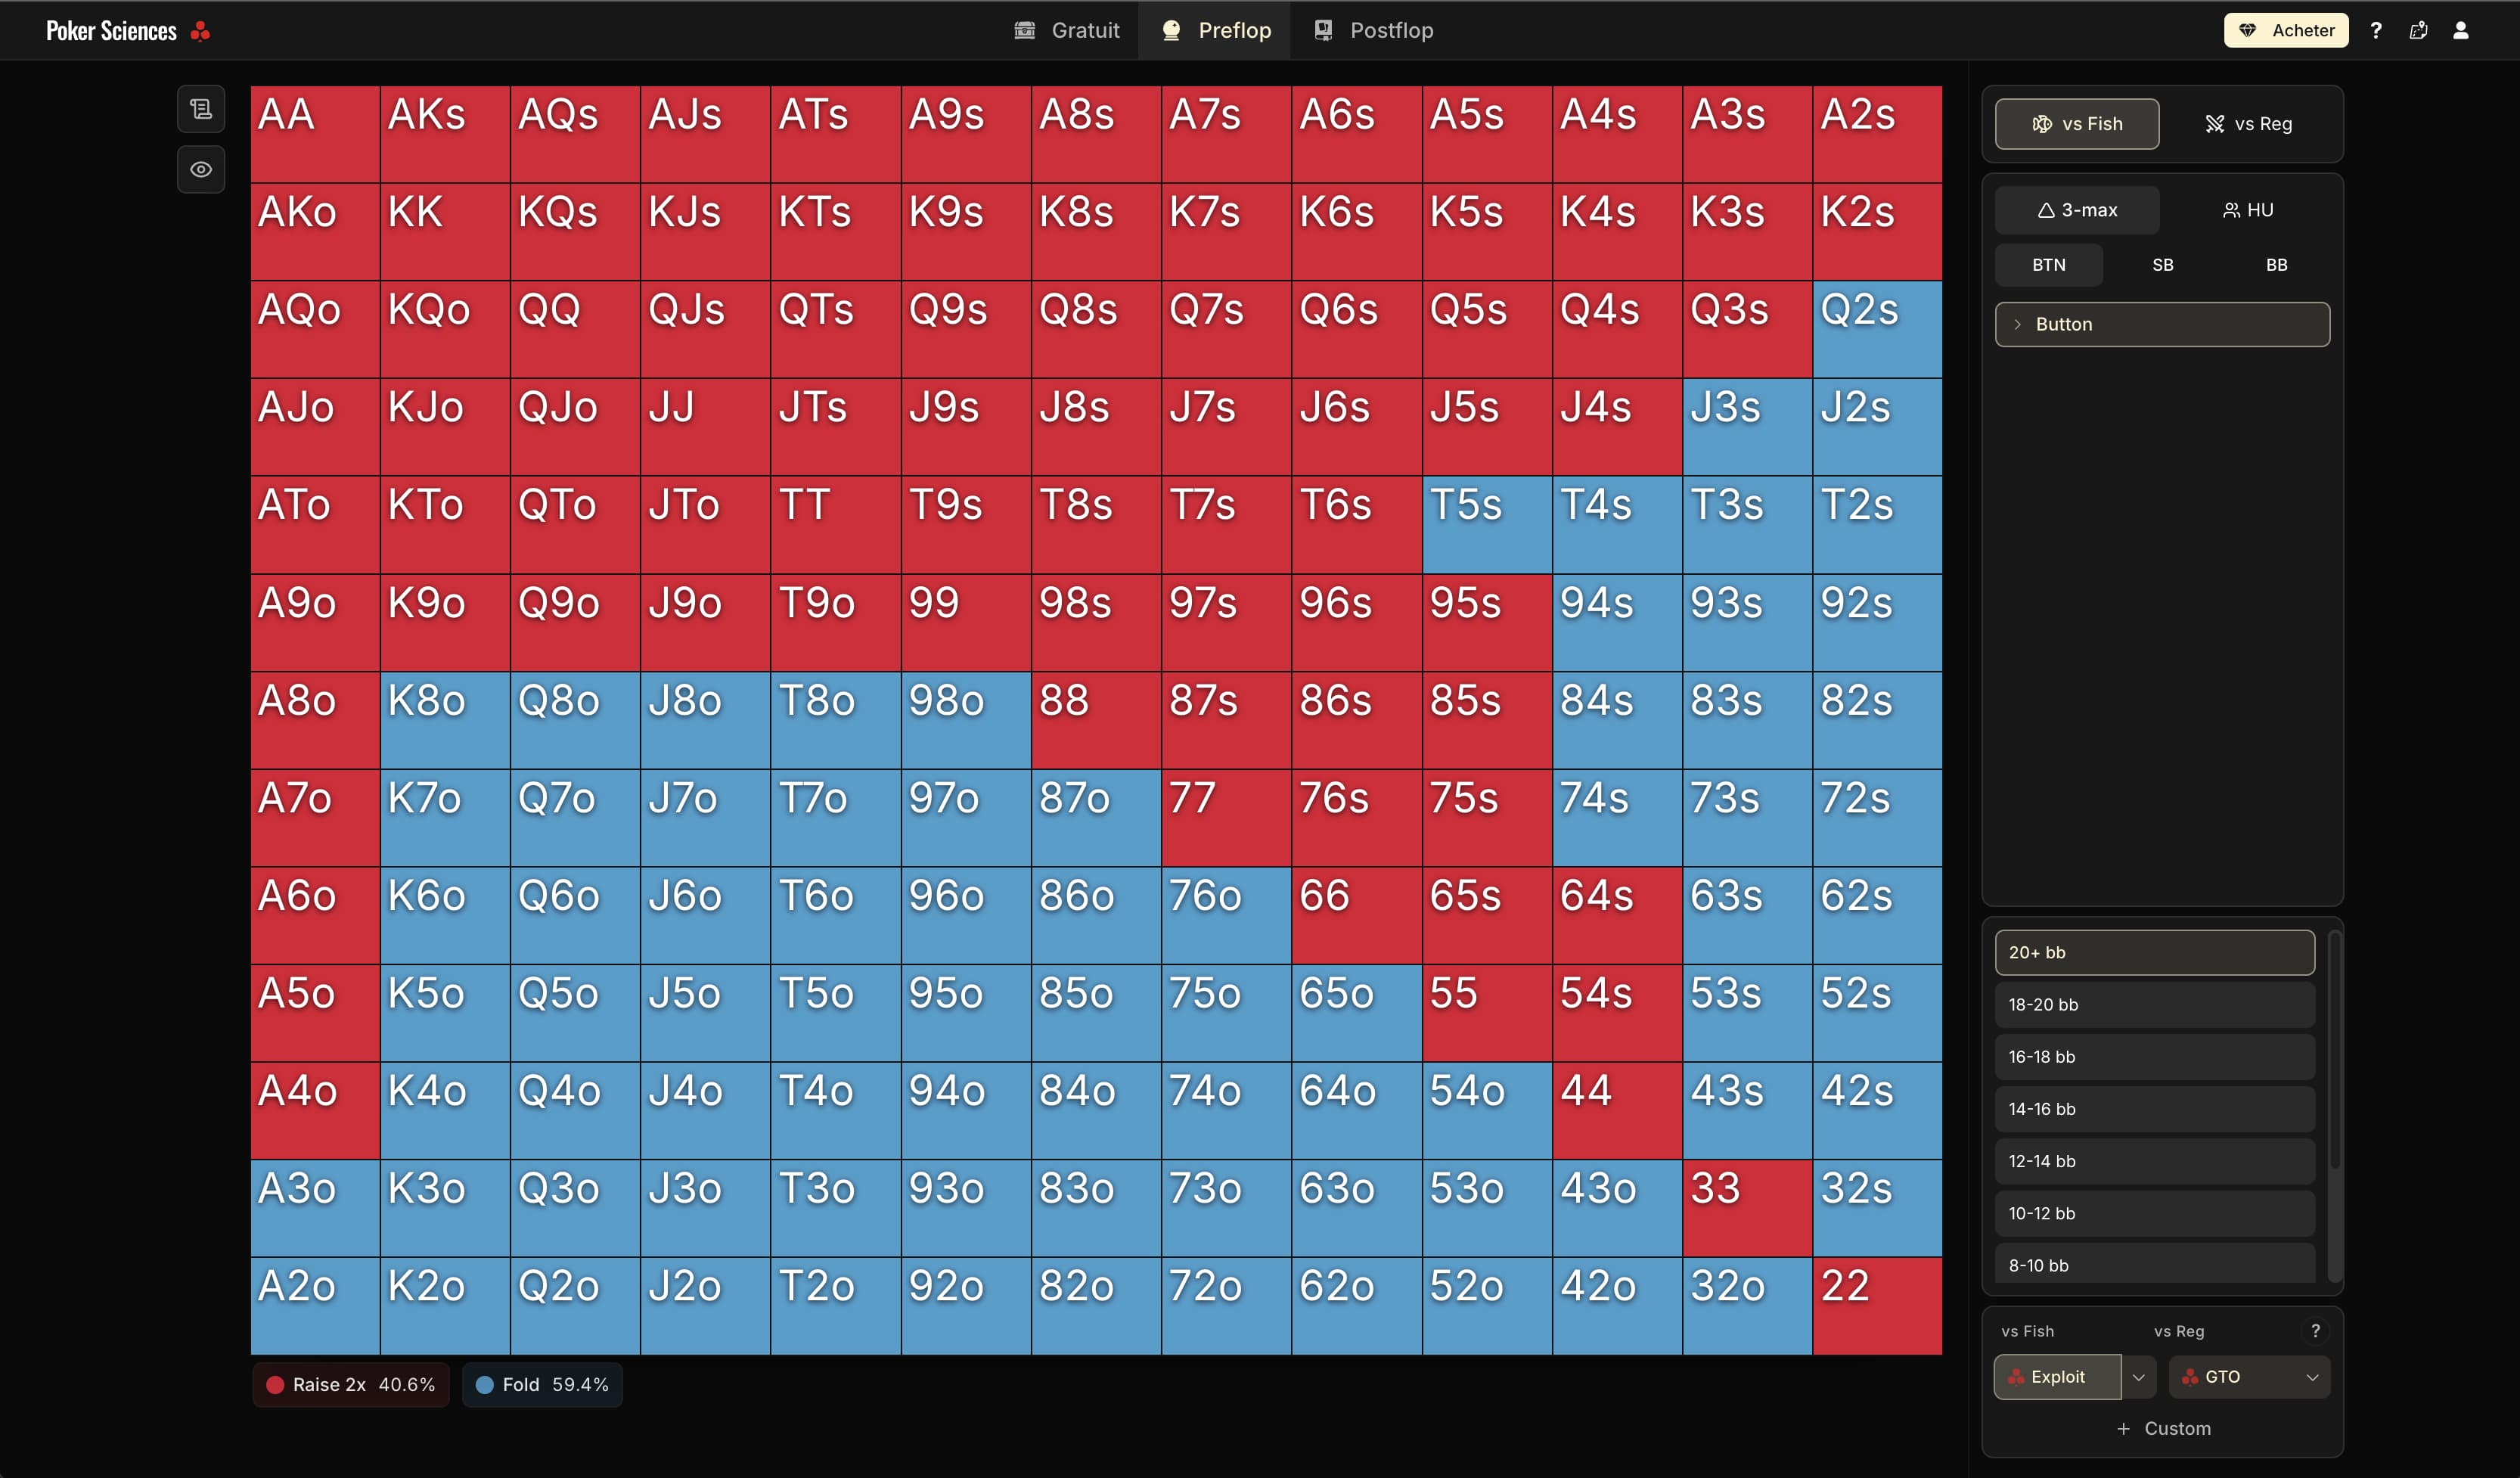
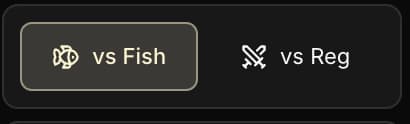
As you've probably noticed, each chart is available in two versions: Exploitative (vs Fish) and GTO (vs Reg).
You can switch between these two modes in two places:
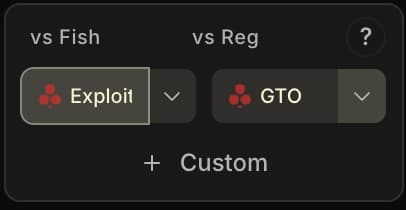
This second menu lets you select the reference range. By clicking "Custom", you can create and select your own personalized ranges.
You can select a different reference range for vs Fish and vs Reg for each situation (Button, BB vs SB limp, etc.).
This range will be automatically used in the Trainer and also in Poker Spin Tracker! (notably to calculate your accuracy during import)
What is the difference between these two strategies?
The GTO strategy is mathematically balanced, designed to be unexploitable in the long run.
However, this strength is also its weakness: it is often less profitable against recreational players who significantly deviate from optimal play.
In contrast, the Exploitative approach works in a targeted way: it detects imbalances in your opponent's play (for example, folding too much against 3-bets) and adapts decisions to maximize profit.
Concrete example: If a player folds 45% of the time against 3-bets (when he should only fold 30% in theory), it becomes profitable to bluff even more against him.
This 15% gap may seem small, but in practice, it is a huge edge and very profitable to exploit.
But beware. Many players wrongly believe that:
- Spin & Go games are purely random because recreational players play badly, or
- Exploiting recreational players is easy
Both of these widespread ideas are false:
- Yes, you can exploit recreational players over the long term (again, check out our free course to understand why)
- But doing so is far from easy. It's not about "playing super aggressive" or randomly improvising strange lines. All of these strategies will fail in the long run.
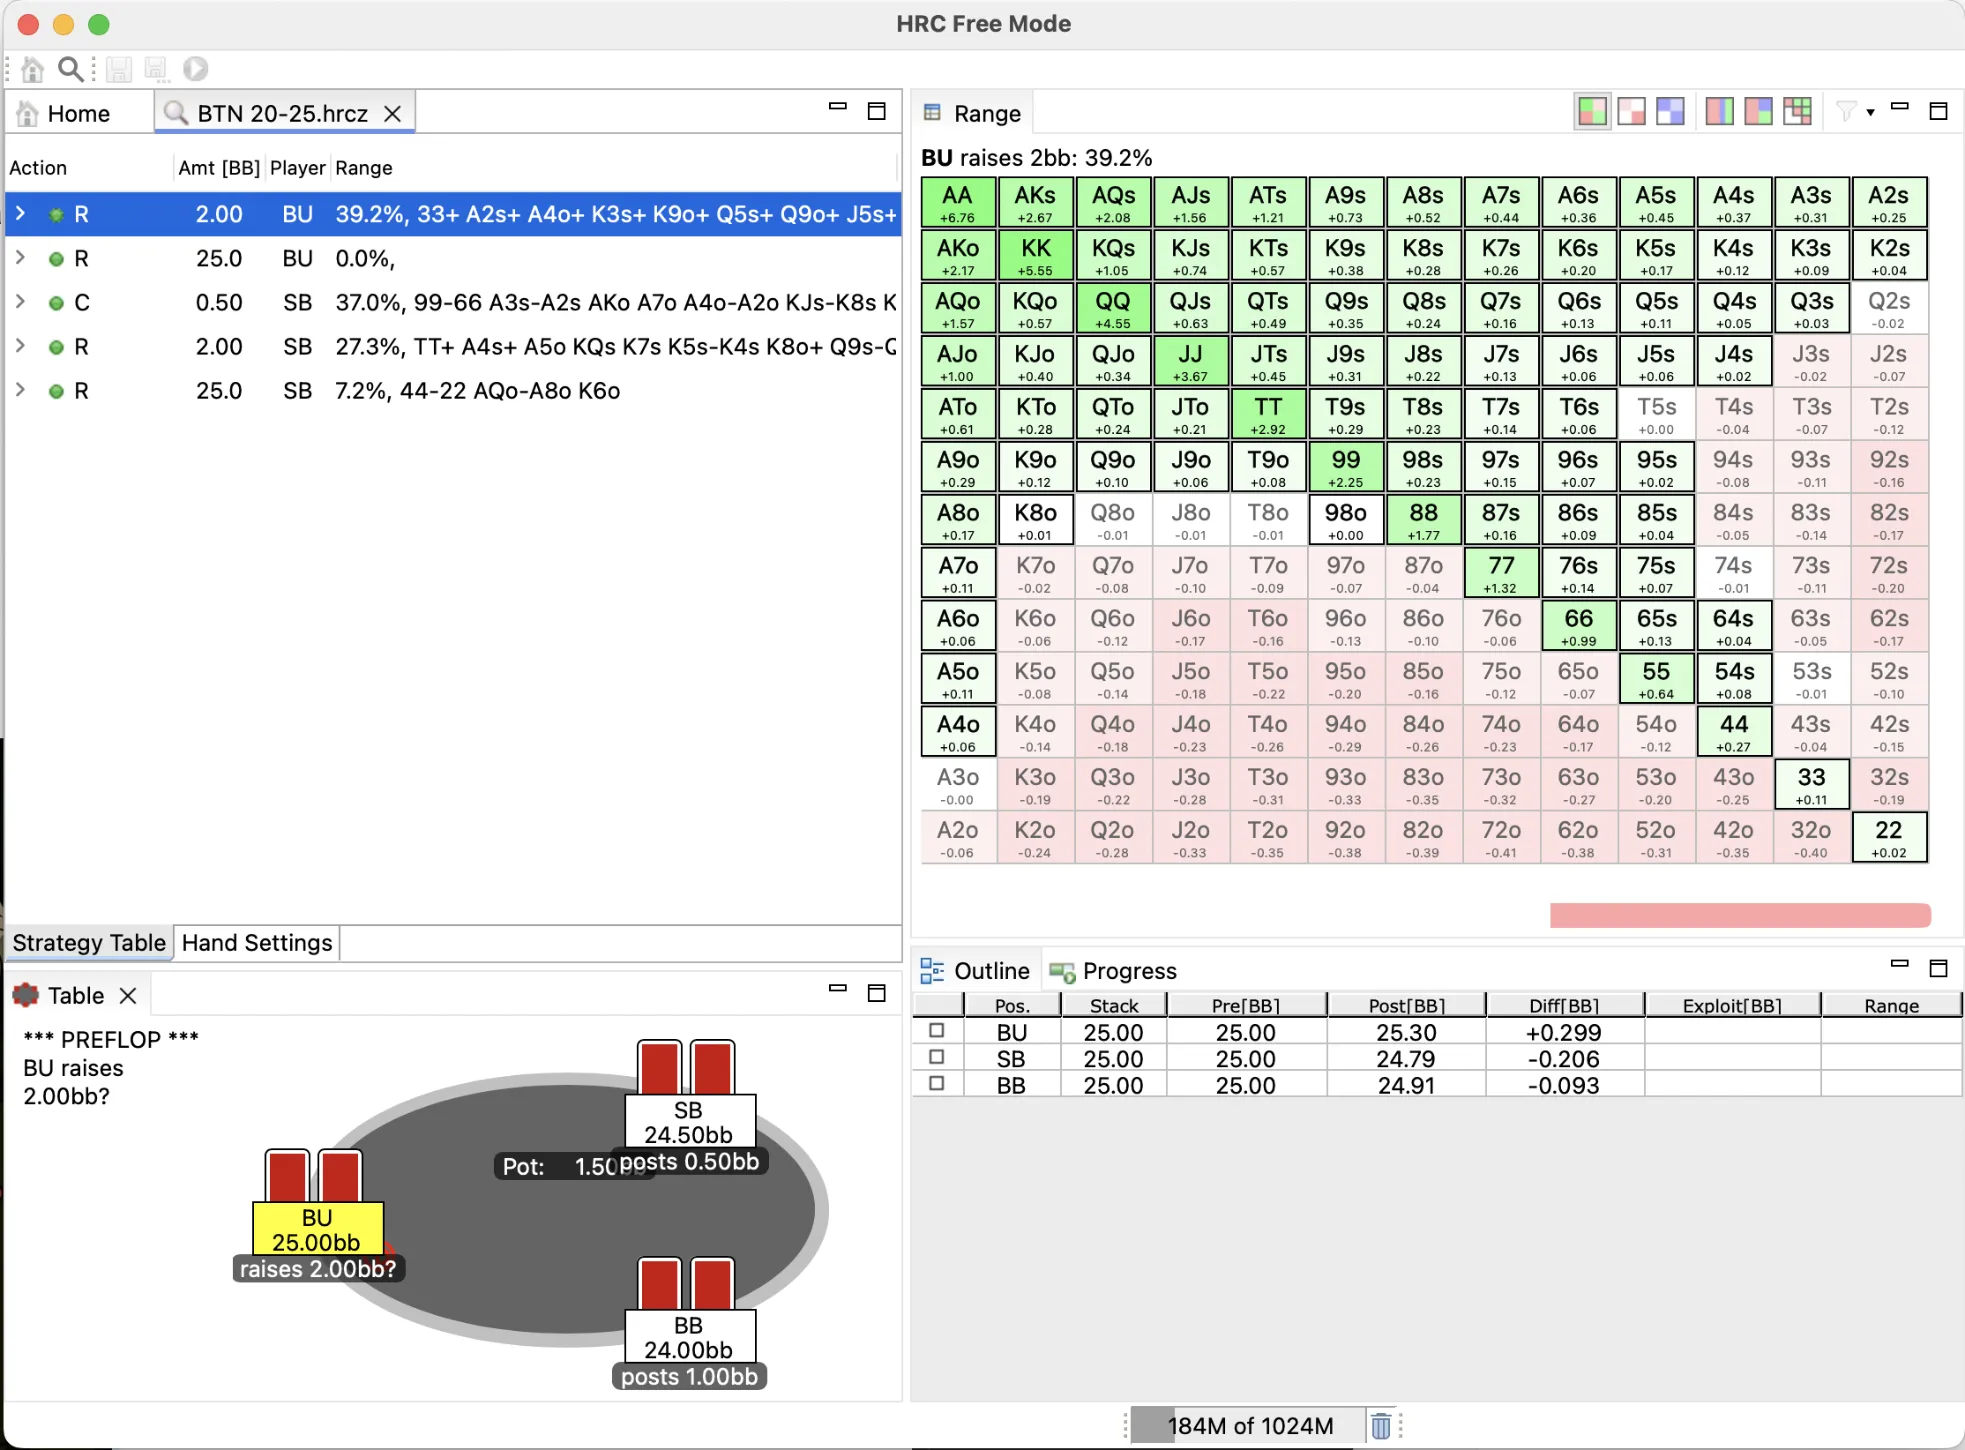
All of our Exploitative ranges are built on data from over 1 million hands played against recreational players and analyzed with the solver HRC.
They are therefore based on solid data and rigorous calculations, and I have personally tested them over tens of thousands of games.
When to Use Exploitative vs. GTO Play
To keep it simple:
Use Exploitative charts when playing against recreational players.
Against regulars, stick to a more GTO-oriented approach.
Being able to compare GTO theory to the Exploitative version is also very instructive from a learning perspective. We often do this in the Strategy Guides.
📊Understanding the Effective Stack
Understanding the concept of the Effective Stack is essential for using both the Charts and the Trainer.
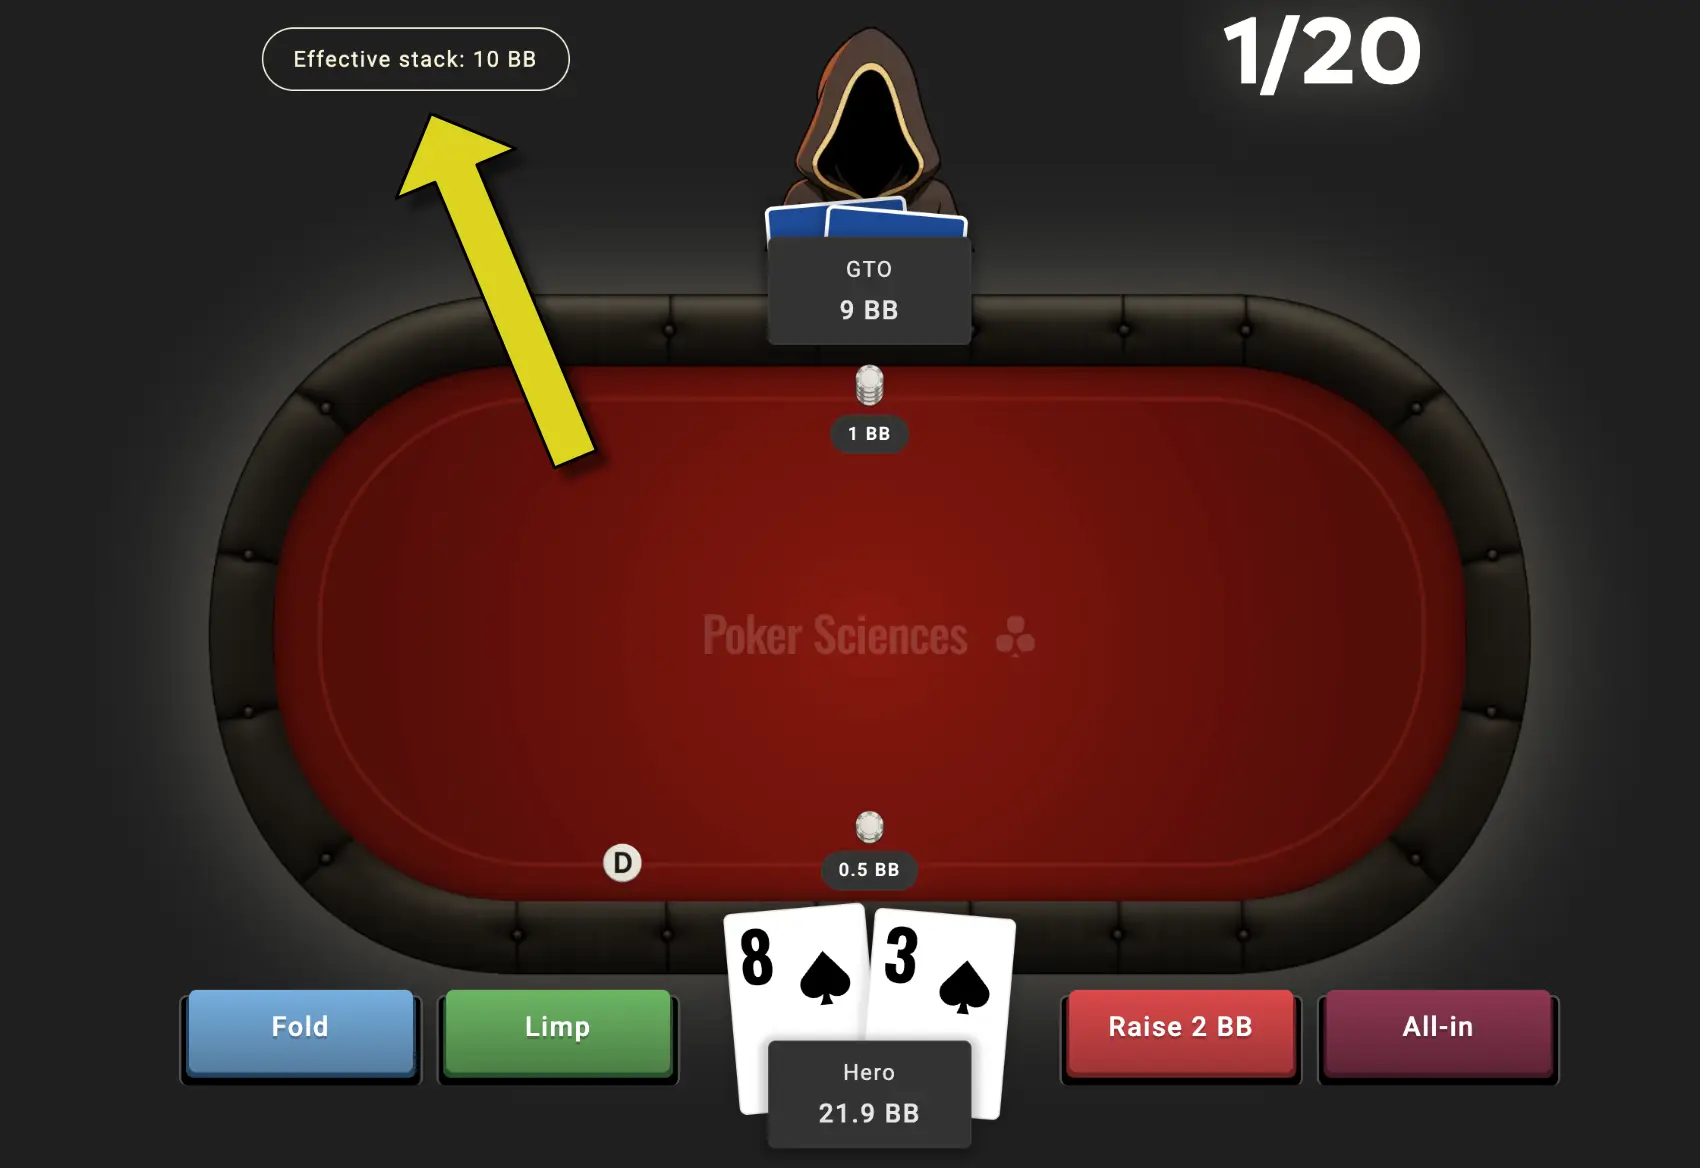
Definition: The effective stack corresponds to the maximum amount you can lose in a hand.
There are two cases to consider:
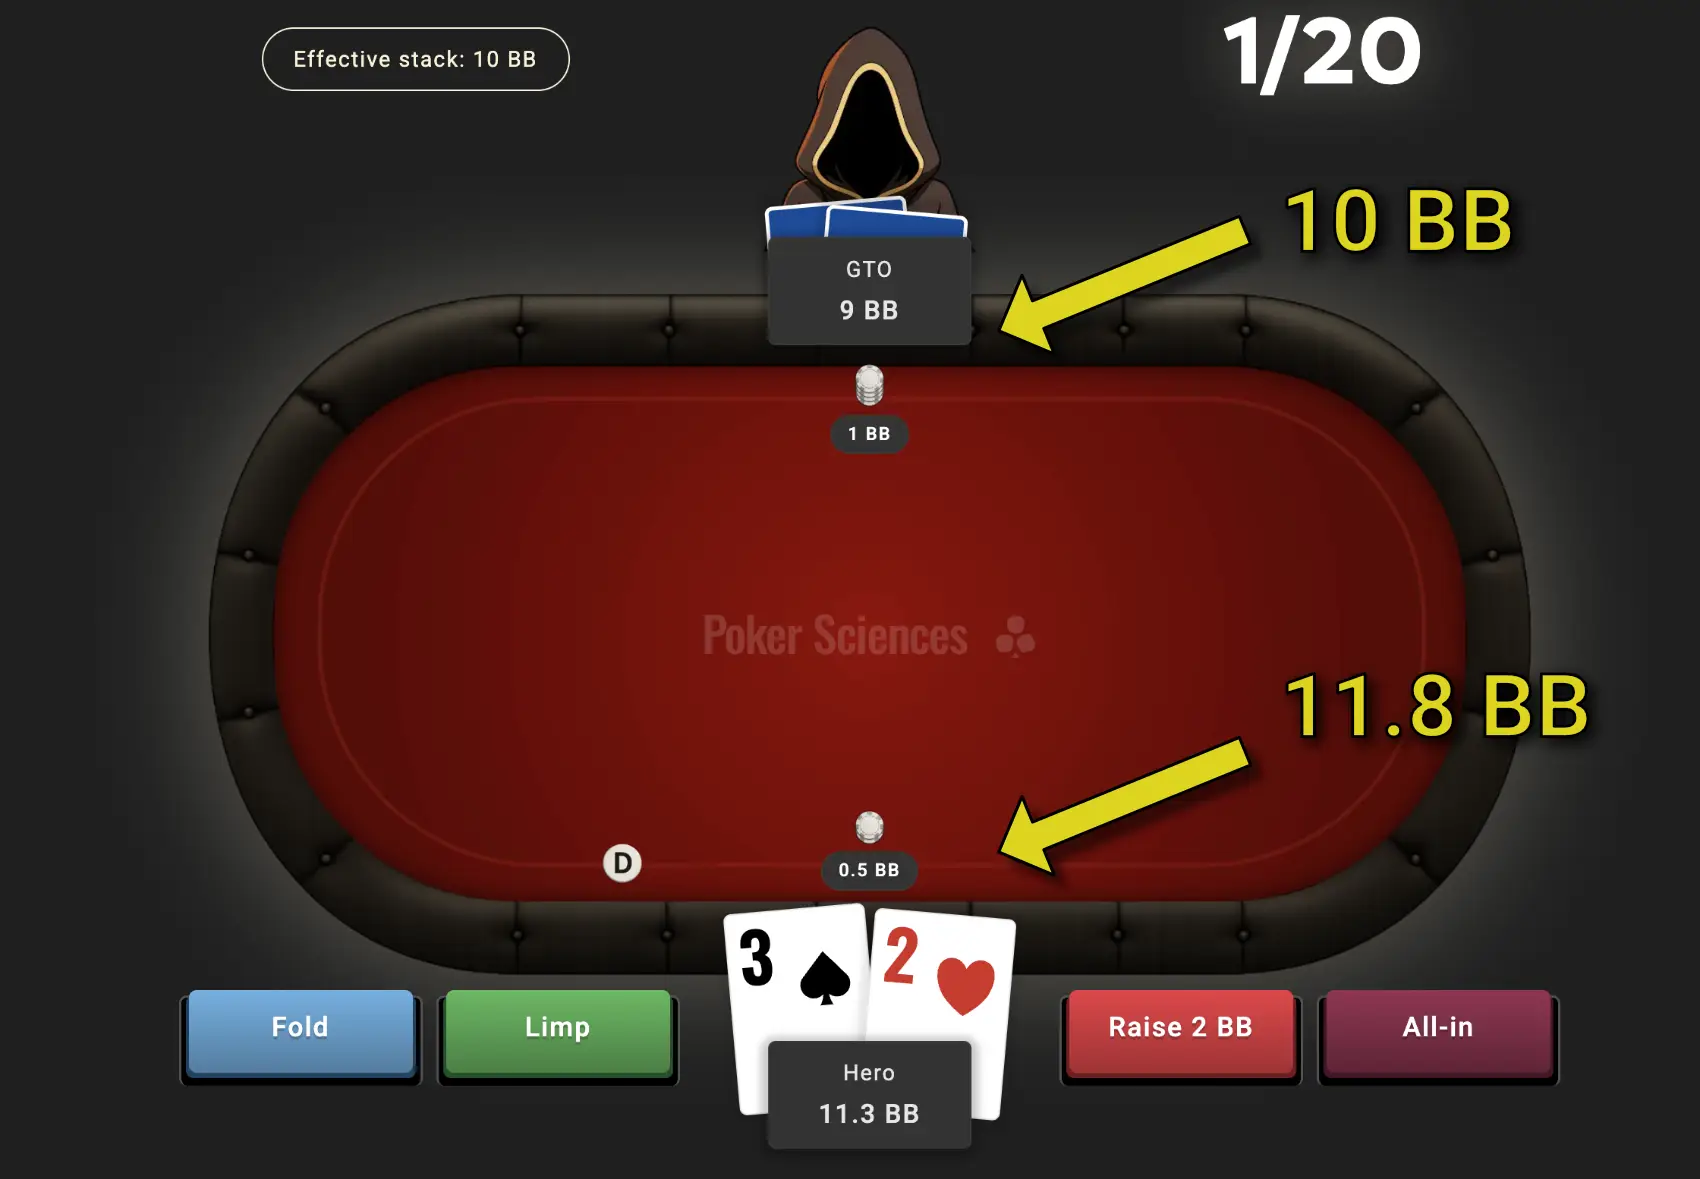
1️⃣ In Heads-Up
In heads-up play, the calculation is simple: the effective stack is the smaller of the two stacks, since you can't win or lose more than that smaller stack.
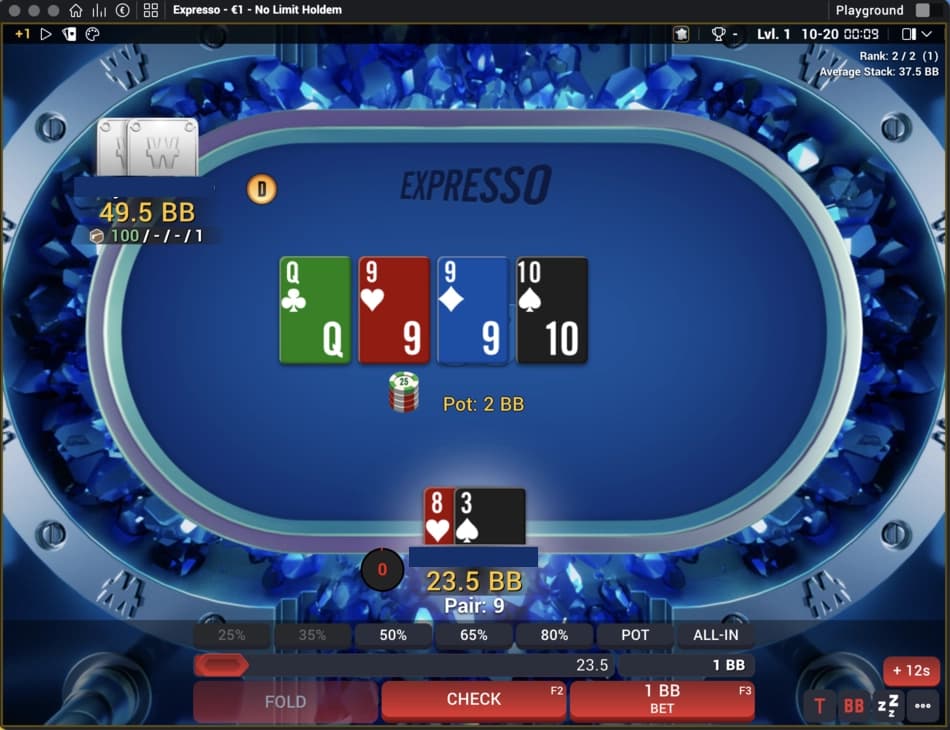
2️⃣ In 3-Way
It's a bit more subtle: your effective stack depends on the players still involved in the hand.
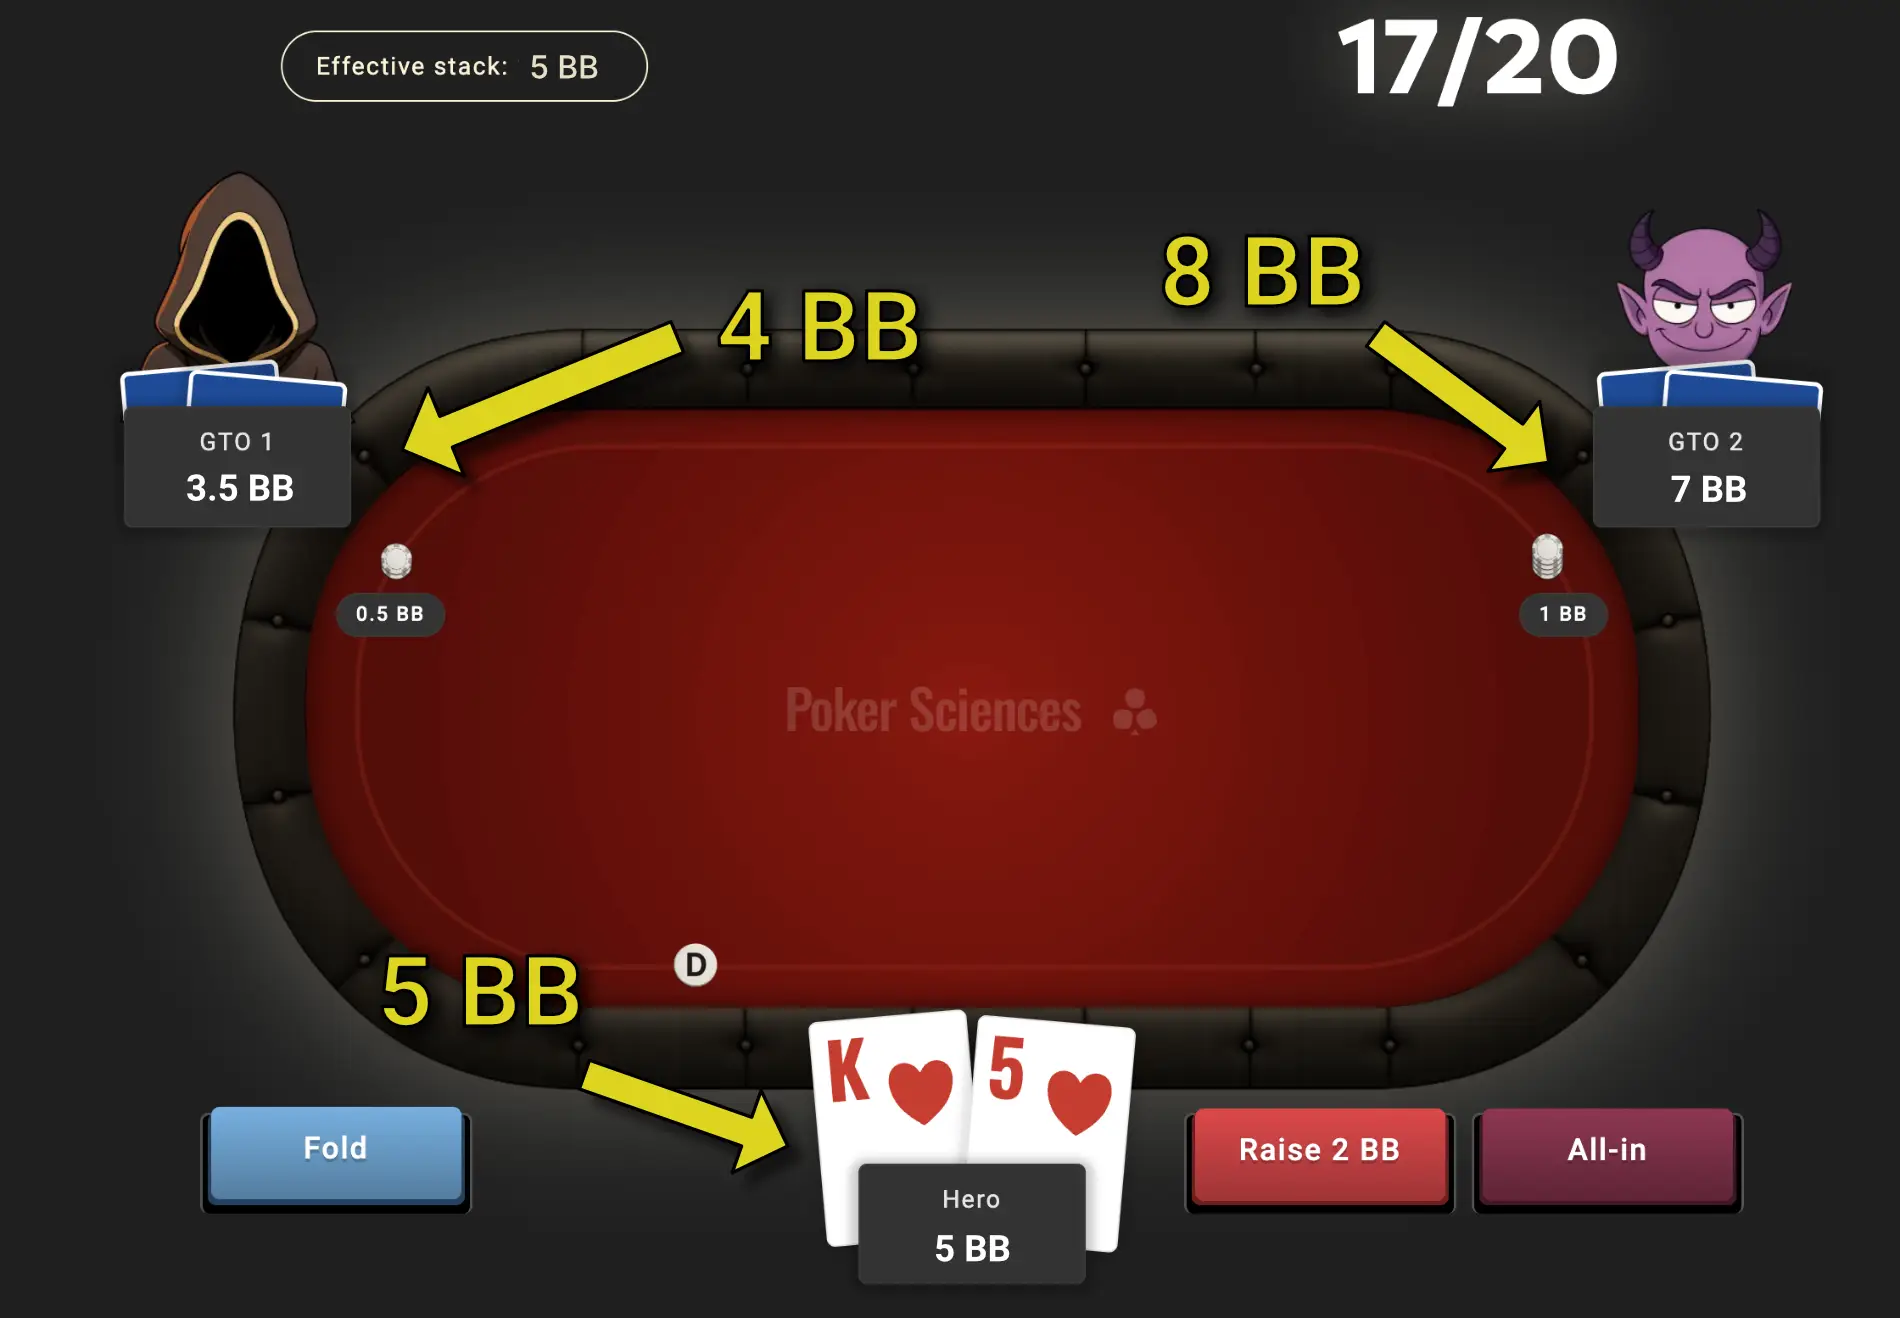
For example, in the situation above:
- If you have 5 BB, the SB has 4 BB, and the BB has 8 BB, your effective stack is 5 BB, since that's the maximum you can lose if you go all-in against the BB.
- However, if the BB folds, then the effective stack becomes 4 BB, because your potential loss is now limited by the SB's stack (4 BB).
📝Glossary
In our Strategy Guides, we use a lot of abbreviations and poker terminology.
These are standard terms in poker, but if you're not yet familiar with them, here's a glossary to help:
| Term | Abbreviation | Definition |
|---|---|---|
| All-in | AI | All-in means a player bets all of their chips. |
| Big Blind | BB | The Big Blind is a mandatory bet, twice the amount of the Small Blind, that starts the pot and creates initial action. The term "BB" also refers to the player's position, seated two places to the left of the Button. |
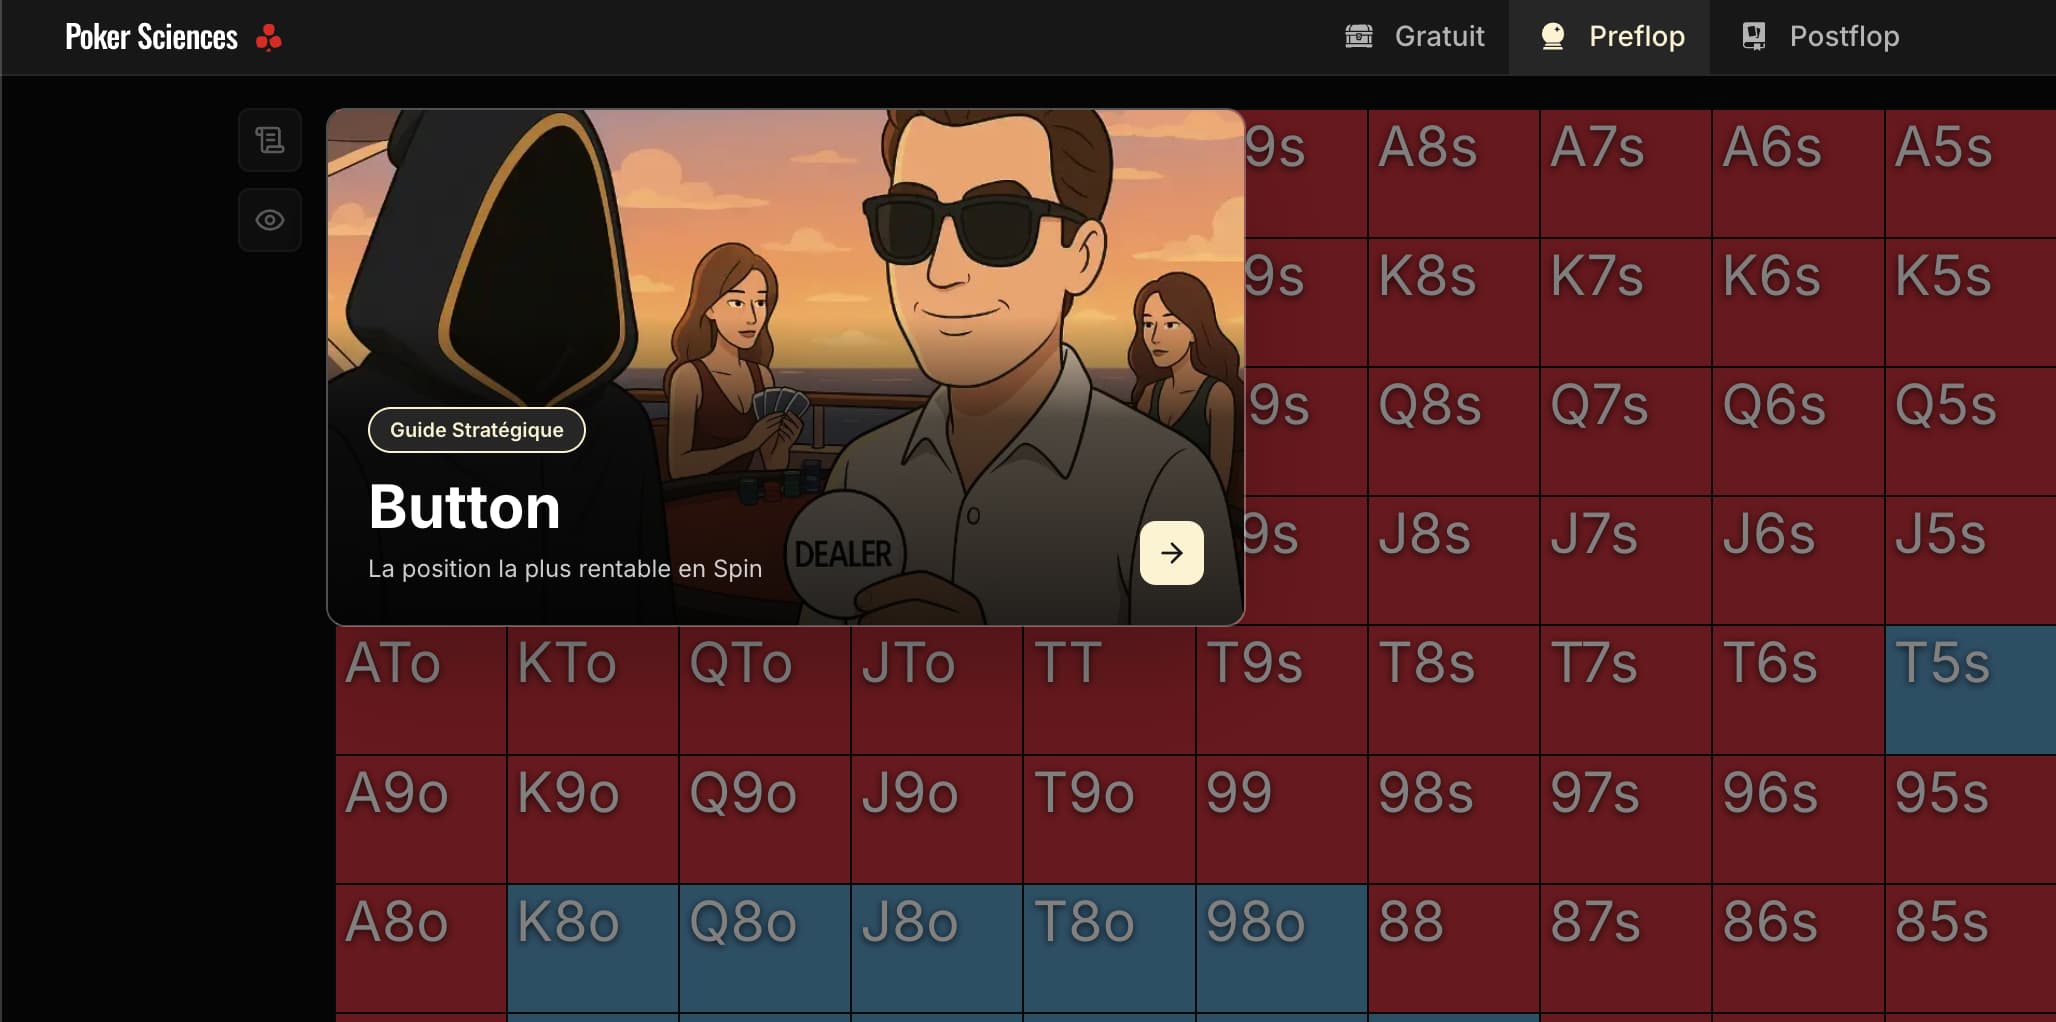
| Button | BTN | The Button indicates the dealer's position, which is the most advantageous because it allows the player to act last post-flop. This position provides the best visibility of opponents' actions. |
| In Position | IP | Being in position means acting after your opponents during the betting rounds. It offers a strategic advantage by letting you observe their decisions first. |
| Out Of Position | OOP | Being out of position means acting before your opponents, which makes decision-making harder. OOP players often need to play more cautiously to offset this disadvantage. |
| Isolation raise | ISO | An ISO is a raise intended to isolate one opponent and force others to fold. But in Spin, the term often has a broader meaning: it can also be used to describe a raise in Heads-up, against a limp for example. The terms ISO NA or ISO NAI (non all-in) are also sometimes used interchangeably. |
| Isolation shove | ISO shove | An ISO shove is when a player goes all-in as an isolation raise to play heads-up against one opponent. Same as for the ISO, in Spin this term is also sometimes used in Heads-up. The terms ISO shove and ISO all-in are used interchangeably. |
| Chips Expected Value | CEV | CEV measures the average number of chips won or lost per game over the long run. It helps assess the performance and efficiency of a poker strategy. |
| Min-raise | MR | A min-raise is a raise that doubles the big blind amount. It's often used to take initiative early in a hand. |
| Non All-in | NA | Non all-in means the player does not commit all of their chips during a hand. |
| Open Shove | OS | An open shove is when a player goes all-in preflop without raising first. It's often used when short-stacked, especially in Spin formats. |
| Small Blind | SB | The Small Blind is a forced bet placed by the player directly to the left of the Button. The term "SB" also refers to that player's position at the table. |
🚀The Rest is Up to You
This brings us to the end of this help page.
You now have a powerful tool in your hands to improve in Spin & Go and evolve your game.
It's up to you to make the most of it.
By moving forward step by step, with consistency and curiosity, you'll see real results, grow your confidence… and your stack.
So keep learning, keep playing, keep improving — and above all, never lose the enjoyment that brought you here.
Good luck at the tables!